
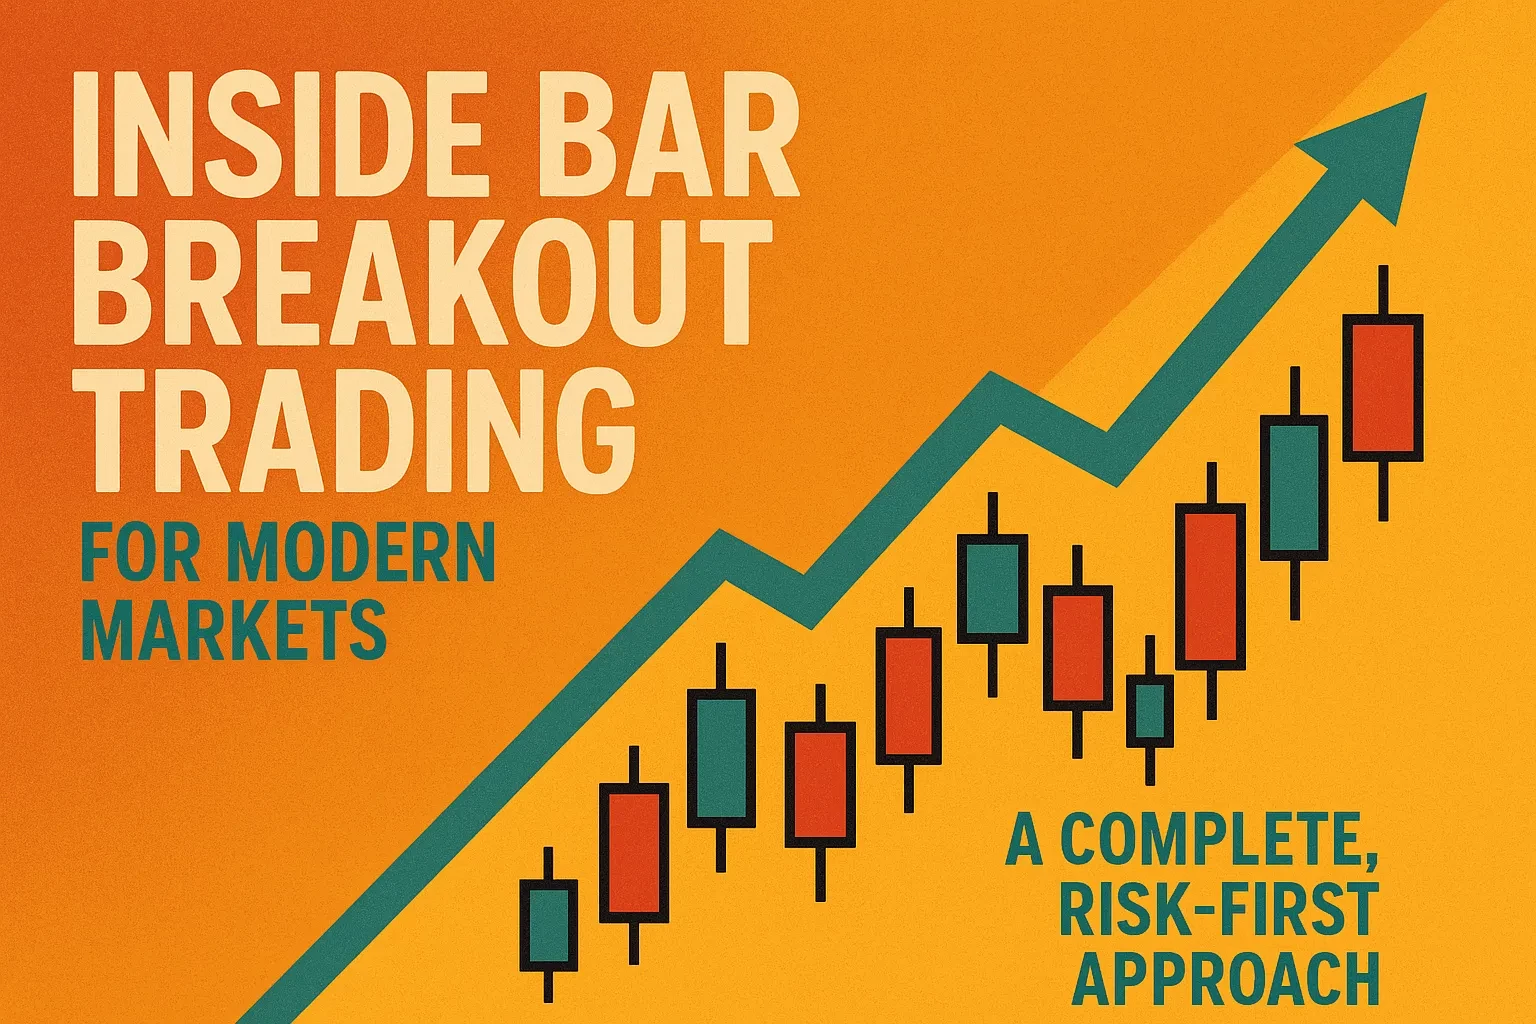


Answer up front: You can use the Inside Bar pattern as a simple, rules-based way to trade breakouts across forex, indices, stocks, and crypto—but only when it appears in the right context and with strict risk controls. This guide shows you exactly when an Inside Bar setup deserves your capital, how to structure entries and exits, and how to avoid the most common traps that cause traders to abandon this pattern too early.
Table of Contents
◉ What an Inside Bar really signals ◉ Decision framework: when an Inside Bar setup is worth trading ◉ Step-by-step Inside Bar breakout playbook ◉ Avoiding false breakouts: survival kit ◉ Mini case study: turning structure into numbers ◉ Common mistakes & expert fixes ◉ Inside Bars, U.S. regulations & risk ◉ FAQs ◉ Conclusion & next steps ◉ Risk disclaimer ◉ References
The Inside Bar pattern has a reputation for being “clean and easy.” One candle forms entirely within the high–low range of the previous candle, price compresses, and traders prepare for a breakout. In practice, though, most people misuse it: they treat every Inside Bar as a signal instead of a potential opportunity that must be filtered by trend, volatility, liquidity, and upcoming news.
In today’s faster, more regulated, and data-rich markets, you cannot rely on visual patterns alone. You need a decision framework: when to trade an Inside Bar, when to stand aside, how to size your position, and how to integrate U.S. regulatory and risk considerations into your process.
• How Inside Bars truly work and what they reveal about trader behavior.
• A practical framework to filter high-quality vs. low-quality setups.
• A step-by-step Inside Bar breakout plan with entries, stops, and targets.
• How to manage false breakouts using structure, volatility, and order flow tools.
• How this approach fits within a responsible, U.S.-aligned, risk-managed trading plan.
What Is an Inside Bar Really Telling You?
At its core, an Inside Bar is a volatility compression event:
• You have a “mother bar” (the prior candle) with a defined high–low range.
• The next candle trades entirely inside that range.
• The market temporarily agrees to do less—smaller range, contained aggression.
Instead of treating this as a magic reversal or continuation signal, think of it as:
A pause in aggression. After a strong move, participants hesitate. Short-term traders take profits, others wait for better prices, and larger players decide whether to defend levels or push further.
An information squeeze. Less range means traders are waiting for new information: a breakout level, a liquidity pocket, a session open, or a macro catalyst.
A staging area. When price is coiled inside a clear range—especially in line with a dominant trend—it can act as a launchpad. When it forms in random chop, it usually just confirms confusion.
Clean Definition (Without the Jargon Trap)
For trading purposes, define a valid Inside Bar as:
• The current candle’s high is strictly below (or equal to, by your rules) the prior candle’s high.
• The current candle’s low is strictly above (or equal to) the prior candle’s low.
• The pattern is visible and unambiguous on your chosen timeframe.
If you need to squint to see it, skip it.
A Decision Framework: When an Inside Bar Setup Is Worth Trading
Most traders lose with Inside Bars because they treat the pattern as the starting point. You should treat it as the final confirmation after your conditions are met.
Use this 5-layer filter before committing any risk:
1. Market Bias
Ask: “If there were no Inside Bar, what would I want to do?”
• Favor long setups in clear uptrends (higher highs/lows, supportive structure).
• Favor short setups in clear downtrends (lower highs/lows, broken supports).
• If the chart is range-bound and messy, reduce size or pass.
If your bias depends solely on the Inside Bar, your premise is too weak.
2. Location
Inside Bars gain meaning from where they appear:
• Near well-tested support or resistance.
• After a decisive impulse candle (strong, directional move with range expansion).
• Around liquidity pools: prior highs/lows, session highs, swing points.
• Away from ultra-random mid-range noise.
If the pattern forms in the “middle of nowhere,” treat it as background noise.
3. Volatility Regime
A compressed candle inside an already tiny range is not informative.
You want:
• Compression after expansion (classic volatility cycle).
• ATR (Average True Range) or recent ranges that justify a breakout’s reward potential.
• Spreads and slippage that allow realistic execution in your market.
4. Event & Session Risk
Inside Bars just before major economic releases or illiquid session transitions are vulnerable to whipsaw.
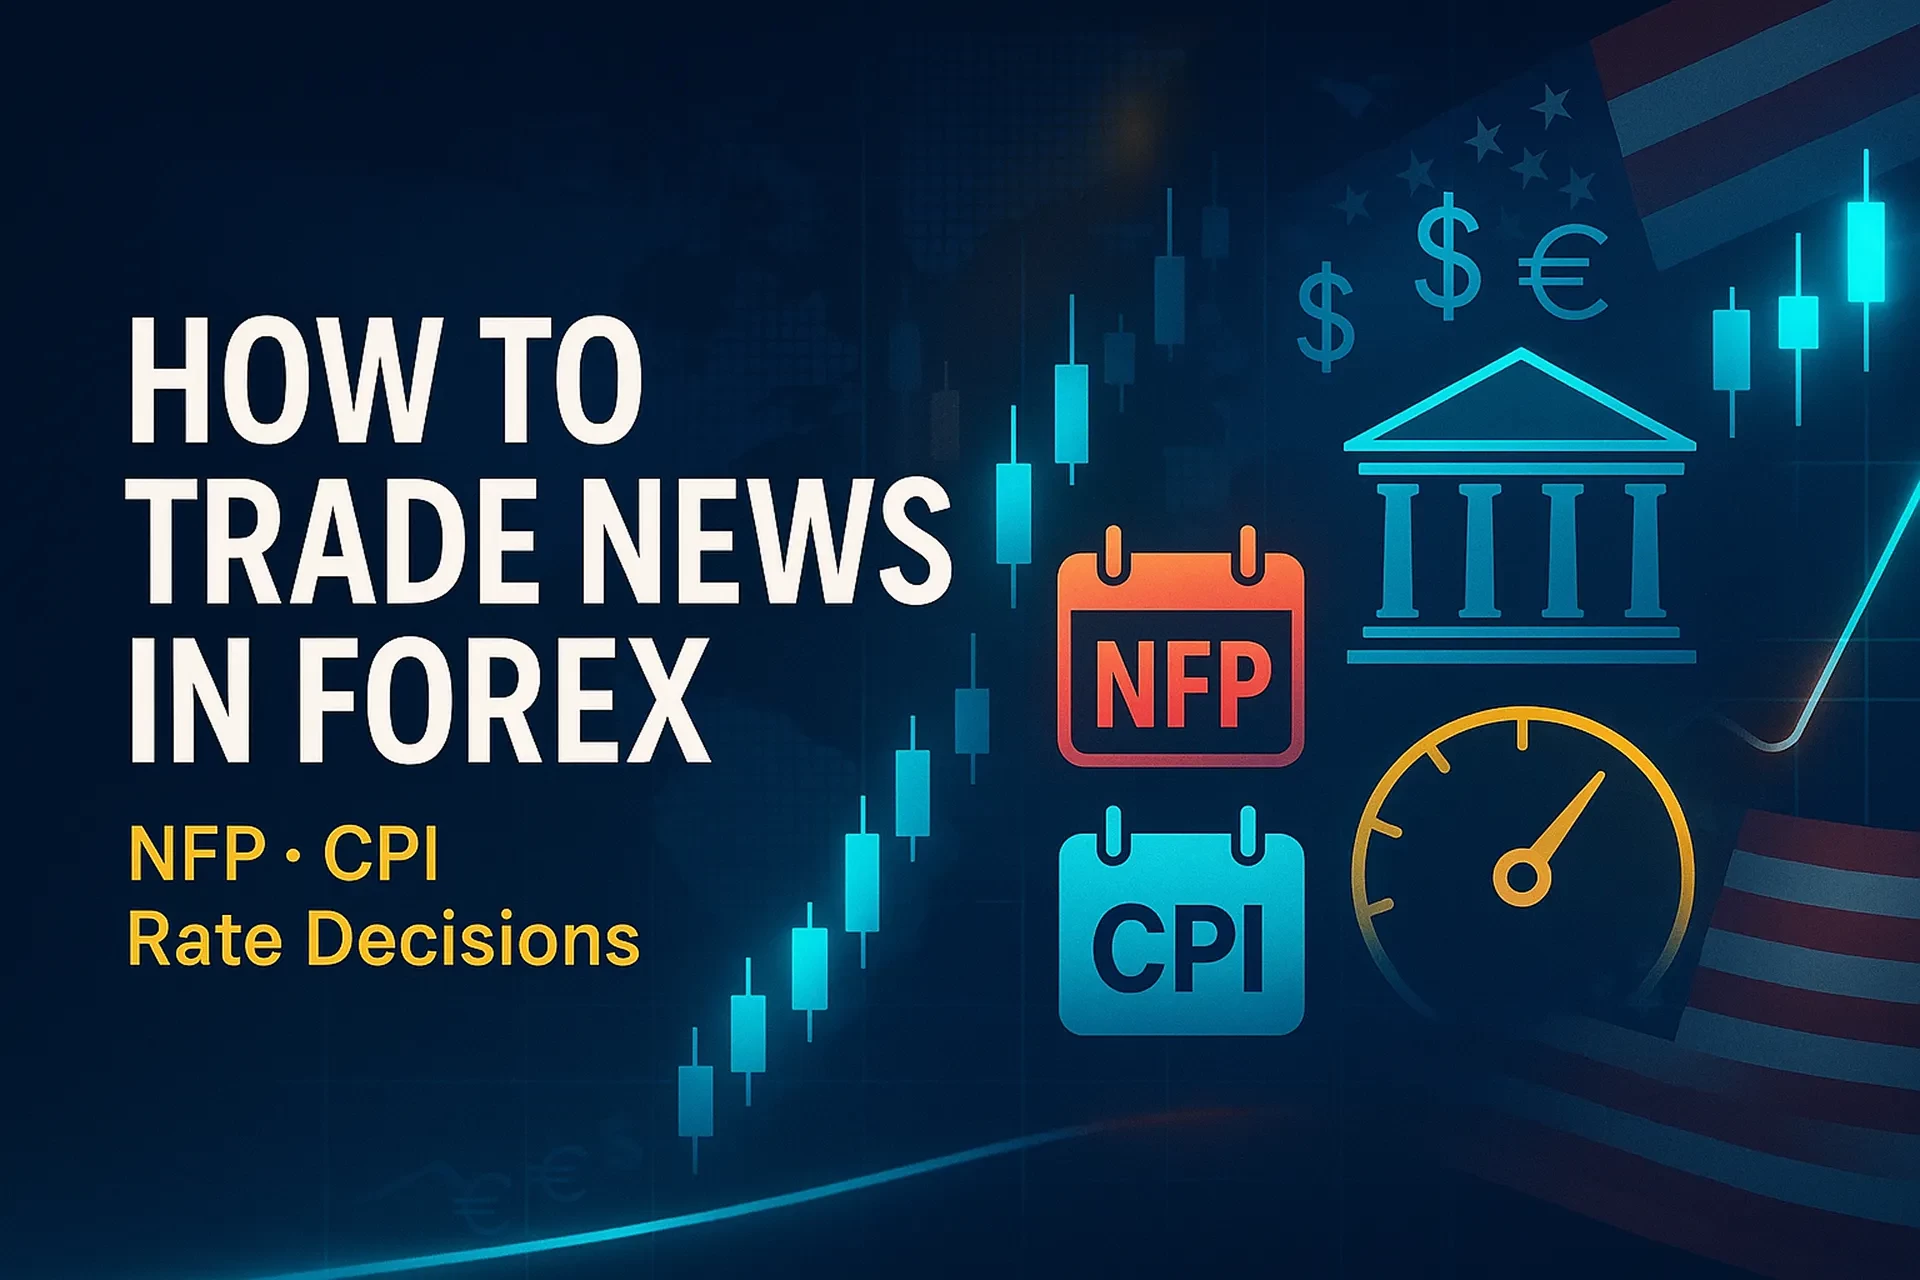
• Avoid opening new breakout trades right before high-impact U.S. data (e.g., NFP, CPI, FOMC).
• Be cautious around illiquid crypto hours or thin overnight sessions in equities/indices.
• Respect your broker’s margin and volatility notices.
5. Instrument Quality
For U.S.-focused traders:
• Prefer liquid FX majors, index futures, large-cap stocks, and top-tier crypto pairs.
• Thin or exotic markets increase slippage and make precise stop placement unreliable.
If a setup passes these five filters, then—and only then—does the Inside Bar become a candidate.
Step-by-Step Inside Bar Breakout Playbook
Use this as a blueprint to structure trades systematically instead of improvising.
Step 1: Define the Context First
Before marking any pattern:
1. Identify trend or range on a higher timeframe (H4/Daily for intra-day, Daily/Weekly for swing).
2. Mark key levels: prior swing highs/lows, weekly opens, obvious supports/resistances.
3. Note upcoming major events that could impact your instrument.
If the big picture is unclear, reduce risk or skip.
Step 2: Mark the Inside Bar Structure
Once context is valid:
• Highlight the mother bar’s high and low.
• Confirm the Inside Bar is fully contained in that range.
• Decide in advance whether equal highs/lows count as valid in your rules; be consistent.
Step 3: Plan Breakout Entries
A disciplined breakout plan:
• Buy stop order slightly above the Inside Bar high when your bias is long.
• Sell stop order slightly below the Inside Bar low when your bias is short.
• Trigger only one side: once one order fills, cancel the other.
This ensures you enter only if price proves intent by leaving the compression zone.
Step 4: Place a Rational Stop Loss
Common approach (and a sensible baseline):
• For long entries: stop goes just below the Inside Bar low or slightly beyond it.
• For short entries: stop goes just above the Inside Bar high or slightly beyond it.
Key principles:
• Stops must sit where your idea is invalidated, not just where you “feel comfortable.”
• Avoid microscopic stops that sit exactly on obvious levels and get wicked out constantly.
Step 5: Position Sizing Using “R”
Use risk per trade as a fixed percentage of your account (e.g., 0.25%–1%), not as a guess.
Example:
• Account: $10,000
• Risk per trade: 0.5% = $50
• Distance from entry to stop: 0.0020 (20 pips or equivalent)
• Position size = $50 / 0.0020 = 25,000 units (in this hypothetical FX example)
This keeps you consistent and prevents a single failed breakout from doing real damage.
Step 6: Set Targets With Logic, Not Hope
Reasonable target methods:
• Fixed multiple of risk (e.g., 2R or 3R) where the structure makes sense.
• Prior swing highs/lows or key levels ahead.
• Partial exits: scale out some size at 1.5R–2R, trail the rest behind structure.
The pattern is just the trigger; the math is where your edge is protected.
Avoiding False Breakouts: The Inside Bar Survival Kit
False breaks are inevitable. Your job is to:
1. Reduce how often you engage with low-quality signals.
2. Limit damage when they occur.
3. Extract more from the clean breakouts than you lose on the noise.
Use these practical filters and tactics:
• Trend Alignment: Trade in the direction of the dominant move unless there is a strong, multi-factor reversal thesis.
• Multi-Bar Confirmation: Favor patterns where the mother bar shows decisive aggression (large body, meaningful close) and the Inside Bar is relatively small.
• Session & News Awareness: Avoid fresh breakouts minutes before scheduled major U.S. releases.
• Confluence: Combine Inside Bars with clear support/resistance, liquidity sweeps (failed pushes beyond key levels), volume spikes or visible order flow imbalances (where available).
• Time Filter: For indices and U.S. equities, prioritize setups formed and triggered during active market hours, not illiquid extremes.
If two or more red flags appear—no trend, mid-range noise, upcoming data—skip. “No trade” is a profitable decision over time.
Mini Case Study: Turning Structure Into Numbers
Imagine you’re analyzing a bullish trend on EUR/USD on the 4-hour chart.
• Price rallies strongly from 1.0800 to 1.0920 with wide bullish candles.
• The next candle trades between 1.0905 and 1.0918—fully inside the prior range—forming an Inside Bar near short-term support.
• No major news is scheduled in the next few hours; spreads are stable.
You create a mechanical plan:
• Buy stop at 1.0921 (just above the Inside Bar high).
• Stop loss at 1.0904 (just below the Inside Bar low).
• Risk: 17 pips. With a $10,000 account and 0.5% risk, max loss is $50.
• Position size: ≈ 29,400 units.
• First target at 2R: 34 pips above entry = 1.0955.
• Second target: prior resistance at 1.0985, using a trailing stop once 2R is hit.
If the breakout fails and price hits 1.0904, your thesis is invalidated, and you exit mechanically at -$50. No revenge trade, no improvisation.
If the breakout works, a full 2R–3R winner compensates for multiple small, controlled losses on other patterns.
The edge does not come from “this one setup never fails,” but from structured repetition under stable rules.
Common Mistakes Traders Make With Inside Bars (and How to Fix Them)
Mistake 1: Trading Every Inside Bar You See
• Fix: Apply the 5-layer decision framework. Log only the setups that pass; ignore the rest.
Mistake 2: Using Tiny Stops Right at the Pattern Edges
• Fix: Place stops where your idea breaks logically, not where it hurts least emotionally. Consider modest buffers.
Mistake 3: Oversizing Because the Setup “Feels Safe”
• Fix: Keep risk per trade constant and small. A compressed candle is not a guarantee of safety.
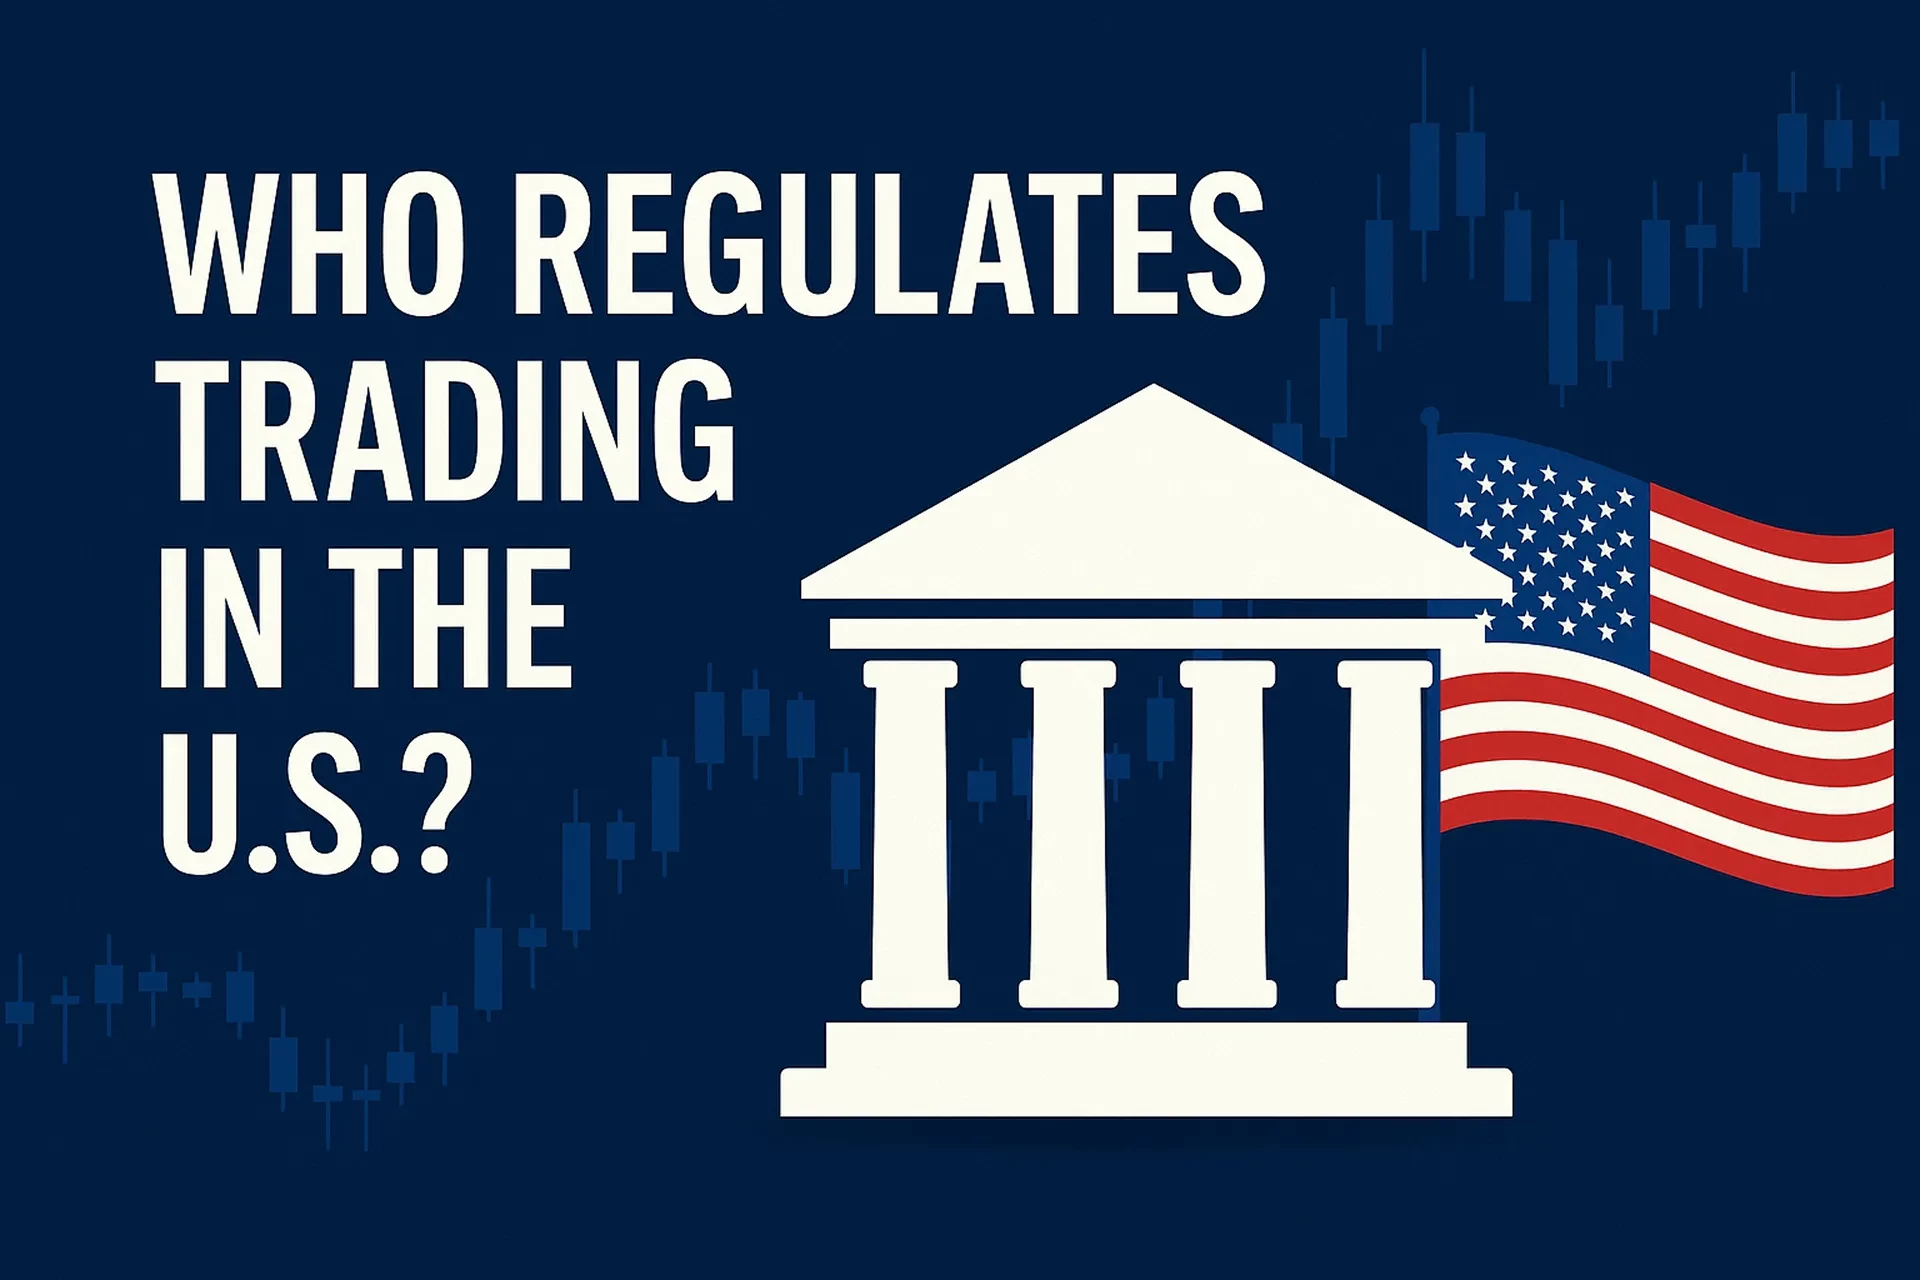
Mistake 4: Ignoring U.S. Regulatory Environment
• Fix: If you are a U.S. resident, ensure your broker is properly registered and review risk disclosures and leverage policies (CFTC/NFA/SEC guidance).
Mistake 5: No Data, Only Vibes
• Fix: Backtest. Even a simple spreadsheet review of 50–100 historical Inside Bar setups on your instrument and timeframe can transform your confidence and filter rules.
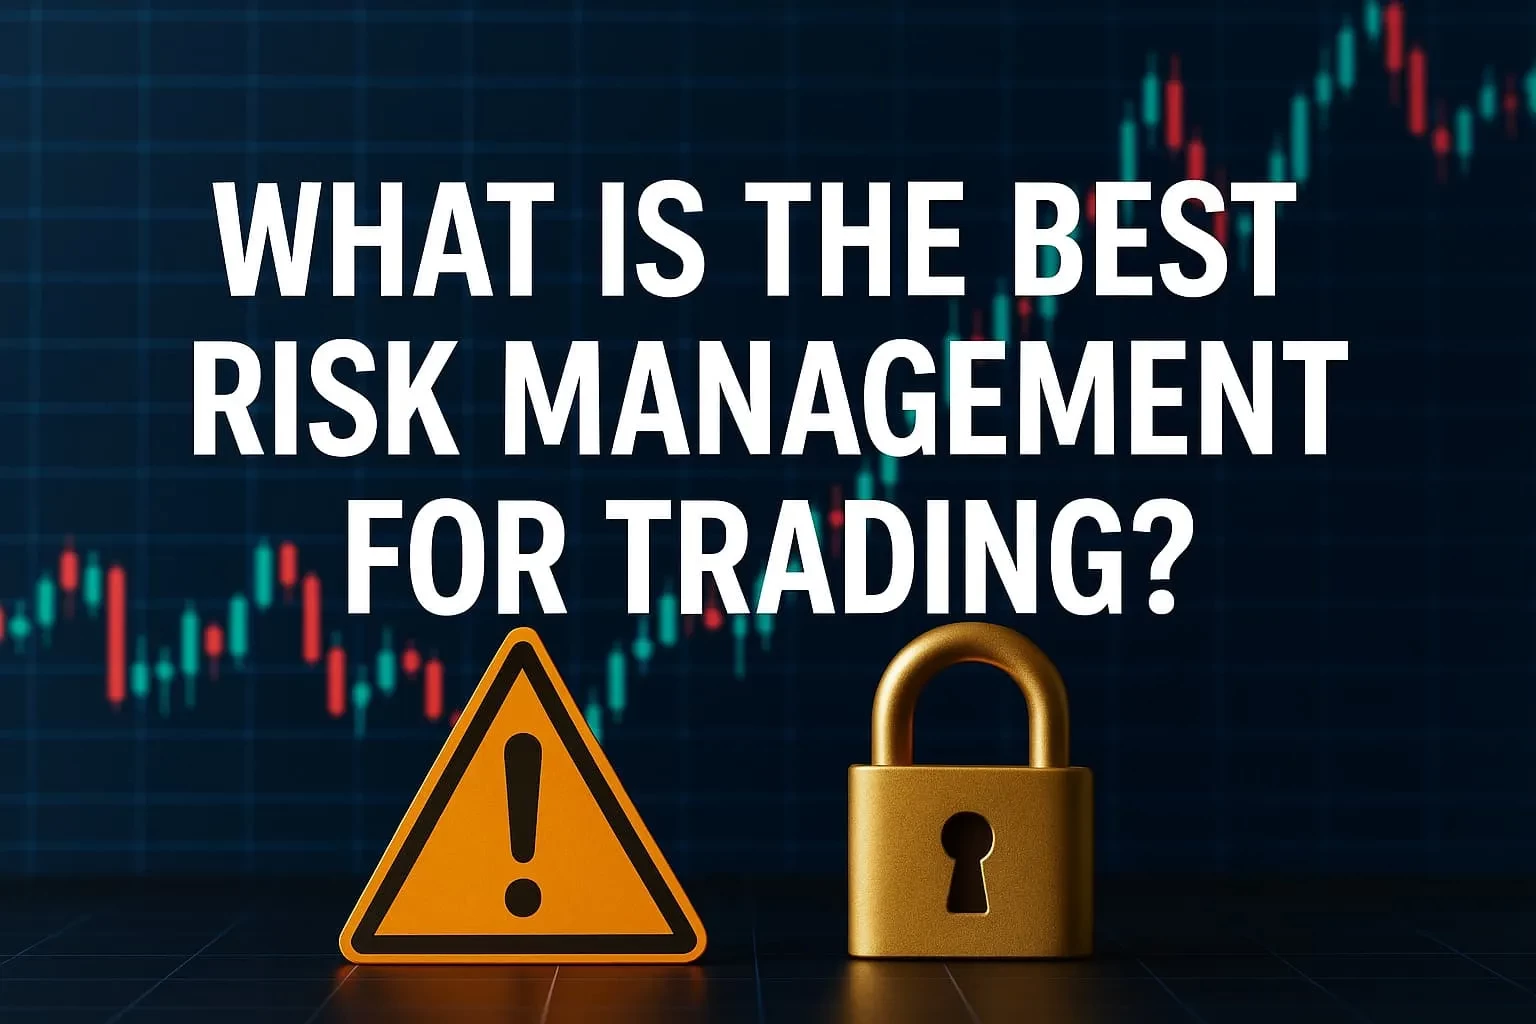
Inside Bars and U.S. Regulatory & Risk Considerations
If you are trading from or marketing to the U.S., you operate under a stricter framework that is designed to protect you—use it.
Key points:
• Leverage & Margin: High leverage magnifies both gains and losses. U.S. regulators consistently warn that short-term, leveraged trading can be unsuitable for many retail traders.
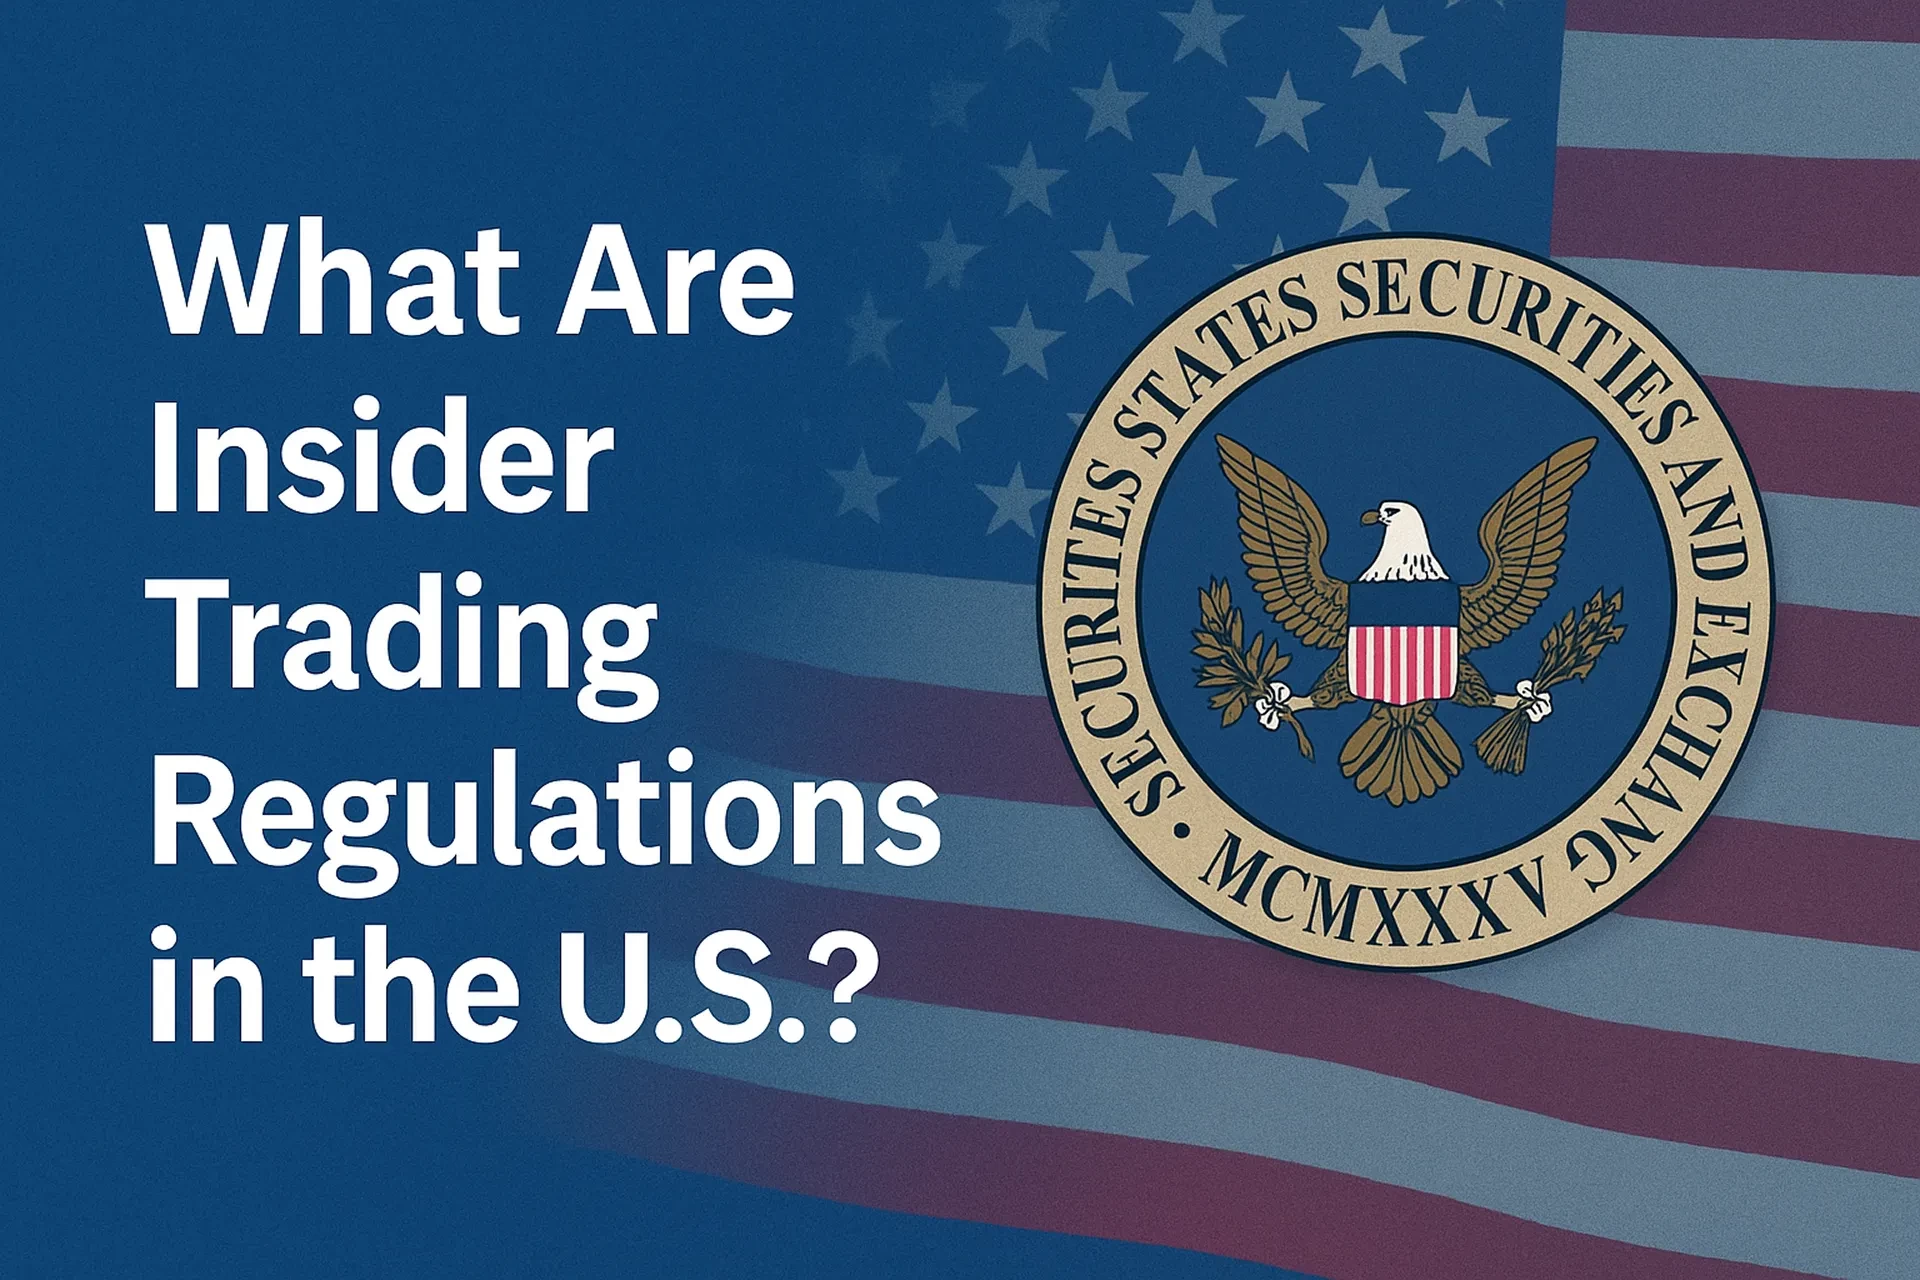
• Risk Disclosures: Futures, options, and forex dealers must provide standardized risk disclosures highlighting the possibility of losing more than your initial investment and the speculative nature of these products.
• Broker Choice: Check registration with the CFTC and NFA for derivatives, and with the SEC/FINRA for securities.
• Record-Keeping & Discipline: Treat your Inside Bar strategy as a documented trading plan, not a social media tip.
For readers publishing educational content: include clear disclaimers, avoid performance promises, and reference official sites like:
• CFTC: cftc.gov
• NFA: nfa.futures.org
• SEC / Investor Education: investor.gov
Linking to regulators is not affiliate promotion; it’s investor protection.
FAQ: Inside Bar Strategy in Practice
Conclusion: How to Turn Inside Bars Into a Professional-Grade Tool
If you use Inside Bars as a “click-and-hope” signal, you’ll likely churn your account and blame the pattern.
If instead you:
• Start with a clear directional bias and key levels,
• Wait for Inside Bars only in meaningful locations,
• Use mechanical entries, exits, and position sizing,
• Respect U.S. regulatory guidance and treat risk management as non-negotiable,
• Backtest your rules on your preferred instruments and timeframes,
…then the Inside Bar becomes what it was meant to be: a simple, scalable trigger inside a disciplined trading framework.
Your next steps:
• Define your written Inside Bar playbook (rules, risk, markets).
• Backtest at least 50–100 setups before trading live.
• Start with a demo or very small real capital.
• Deepen your foundation with dedicated resources like [Guide: Risk Management], [Guide: Trading Psychology], and official regulator education pages.
Risk Disclaimer
This article is for educational purposes only and does not constitute financial, investment, or trading advice. Trading futures, forex, stocks, options, and cryptocurrencies involves a substantial risk of loss and is not suitable for every investor. You should only trade with money you can afford to lose, and past performance of any strategy or pattern is not indicative of future results.
Disclosure: If this content includes product or broker links in a live environment, some may be affiliate links. This does not affect your cost and does not change our commitment to objective, risk-first education.